Showing posts with label rubberstamping. Show all posts

Saturday, April 16, 2011

More Swaps

Here are some of the swaps I sent out this week.

Flying Pigs PC--this went to a postcrosser in Australia who said she liked "unusual scenes".  I think this qualifies.

I stamped in black and colored with Prismacolors, my usual MO.  I liked this one so much I made extras.
 The title for this swap is "At the Heart of the Zentangle ATC".
We were instructed to include a heart somewhere in the 'tangle.  I'm really loving making these zentangles, but not feeling very confident about the results yet. 
 "Book / Library ATC"
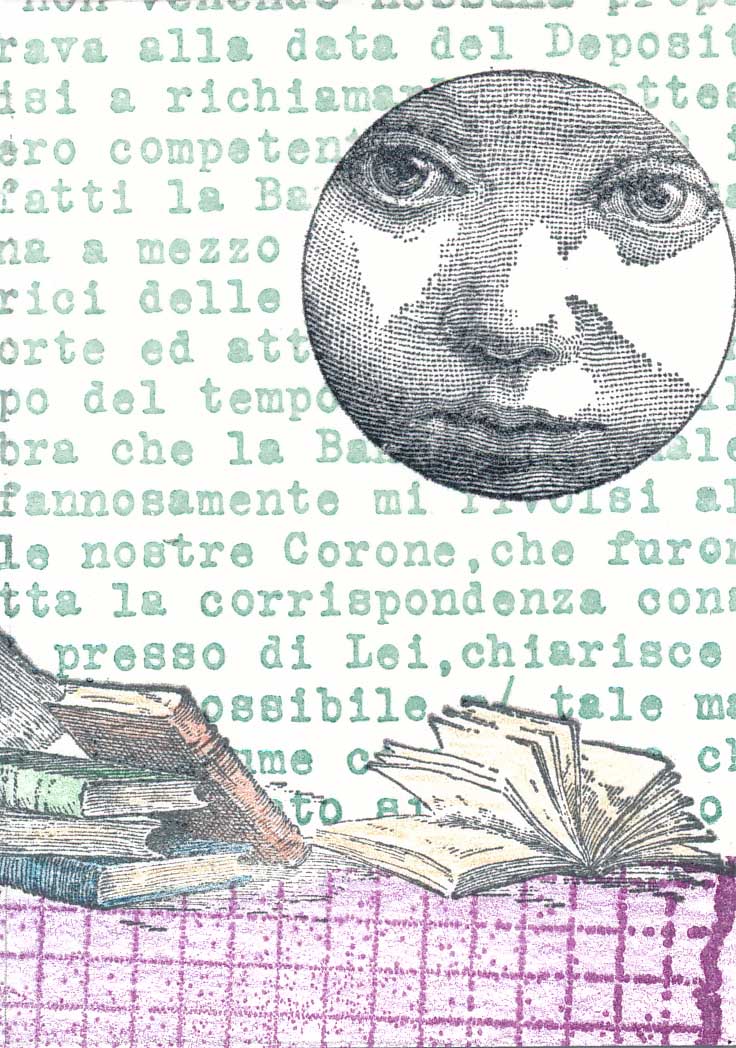
I think the background text is in Italian, but I'm not sure.  This was a quick one.

 "Things that Go Bump in the Night"
For this swap, we send three ATCs to one partner.  I had fun reacquainting myself with embossing powder.  The skeleton is embossed in "sea foam" and the cat in black.  The eyeball was stamped on glossy cardstock, cut out and glued in place.
 Here the spider web is embossed in gold, and the card has a gold thread from which dangles a gigantic black spider.  Shudder.
My favorite of the three.  "Eyes in the Mist"...booga booga!
The background was sponged in midnight blue and eggplant.  These eyes are so creepy!  The house is a rubber stamp that was made from a carving done by a friend from many years ago.  She started a stamp business named "Karv'd" back in the 90s.  She was a great inspiration to me--always doing something with stamping or quilting, or combining the two.  Whenever I use one of the stamps she designed, I regret that I didn't do a better job of keeping in touch.

Monday, March 24, 2008

3-D Paper Eggs


Most of these were made by my 12yo. She's into all things crafty. Each one of these eggs took about 2 hours to make, but they're so cool! And really, they'll last forever so what's a couple of hours of work compared to forever?


To start, you buy a stamping kit from Some Assembly Required. This company sells the coolest stuff around. You'll be amazed. Anyway, once you have the kit (the eggs shown were made with the Medium Egg Stamp Set) start stamping away. We used 80 lb cardstock and chose an ink color that matched as closely as possible.


The instructions that come with the kit identify each stamp by a letter-number code. I used a sharpie marker to write each stamp's code directly onto the rubber part of each stamp. I marked each stamped image with the corresponding code, too (in pencil). It made assembly so much easier!


Next, the cutting. I won't lie. There's a lot of cutting. I recommend using very sharp pointy scissors and a blade of some sort, too. I use a box-cutter.


Once everything is cut out, the fun really begins. Assembly. This is the stage where you will be so very thankful that you marked each paper piece with its corresponding code. The first two pieces will go together with no problem.


The next twelve will be more difficult.


But the end result will be so worth it!

Look--the last piece acts as a slide-up door. You can add a very small something to the inside of your egg! We haven't tried that yet. The coolest part? The eggs fold flat (see the almost flat yellow one in the background?).


If you're opposed to all of that cutting, SAR offers pre-cut egg kits in several shades of cardstock. They also carry metal dies (instead of rubber stamps) for many of their kits, for use in personal die cutters such as Zip'eMate or Sizzix machines. With any of the options though, the assembly is all up to you.

Photo credits: Laurel (9). Artwork and hand model: Holly (12).